Do you receive requests for information about your products? Needtechnical assistance? Partnership requests or complaints? Are you overwhelmed by your customers' requests?
Would you like to automate the processing of customer messages via tickets, and ensure internal follow-up in the best possible conditions? Would you like to integrate these contacts into your CRM?
With the"Customer Support Tickets" app, manage and organize your customer messages!
Respond as a ticket, by e-mail or web. Share information internally and assign a message to a member of staff. Prioritize message processing. Archive your complete customer relations history. Organize your internal response with notes, tasks and attachments for each ticket.
Offer a personalized response to each of your contacts, or easily create libraries of responses using the document templates in the "documents" app, and select the response you want to send with a single click.
Be responsive and provide the right answer to your prospects and customers!
Activating the :
- Automatically creates your customer support email address
- Adds a ticket creation option to your web forms
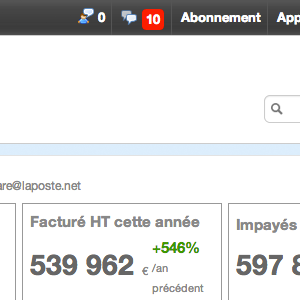
- Adds a support icon to your application's tab bar, for access to your customer support area
1. Define operators
Once the app has been activated, go to the app's "Home" page and define the support operators.
Check the list of app users who will receive notification and be able to process customer support messages.
2. Process support messages
Any request sent to your customer support address created by this app (or filed on your web forms) is :
- Sent to each operator's e-mail address, to inform them of
- Integrated into the application's customer support module
From the "Customer support ticket" area :
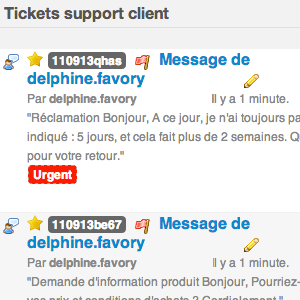
- The list of"open" messages, i.e. messages to be processed, can be found on the tickets home page.
- Indicate a response processing priority, designating the level of urgency: immediate, 24h, 48h, one week, one month
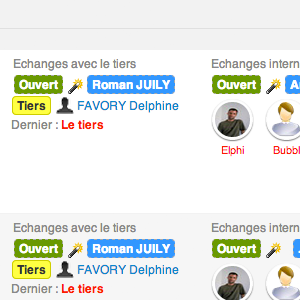
- Assign the processing of the reply to a member of staff, in the "Exchanges with third parties" column. Click on the blue tag and select its name from the operators.
- In the "Exchanges with third parties" column, view the name of the "third party", i.e. the contact who has written to you, and access their customer file with a single click.
- Notify a person to carry out tasks related to the customer request, in the "Internal exchanges" column.
- and, of course, reply to your contact's messages!
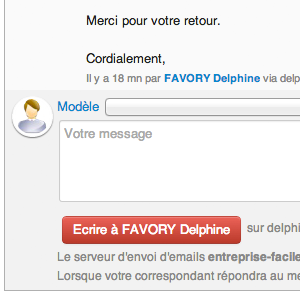
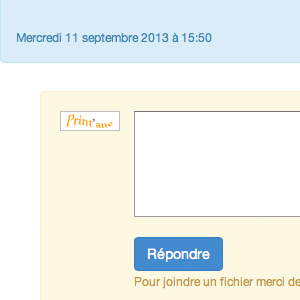
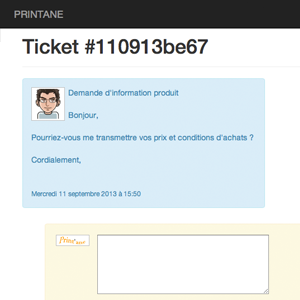
To reply to a message:
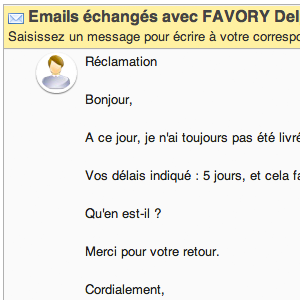
- Click on the message toedit and read it in full
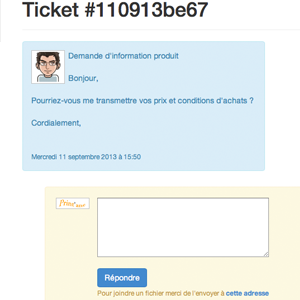
- Write your reply in the "Emails exchanged with first name and surname" block.
- Click on the red button marked "write to name", to send your reply.
Your contact will automatically receive your message. If he replies, his answer will be integrated into the same ticket. You'll be able to track the history of your exchanges, and any available operator will be able to reply.
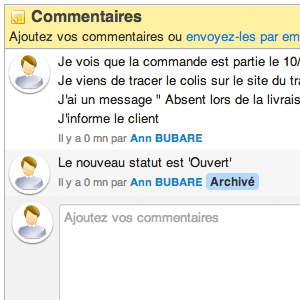
3. Manage and comment on messages internally
The "Comments" block on each message allows internal messages to be exchanged between operators.
Write your message and click on the blue "add" button.
Each operator receives a copy of your internal commentary and can respond to it.
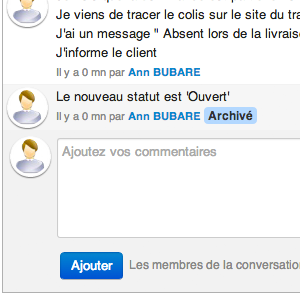
4. Change message status with one click
The magic wands to the right of the "open" statuses allow you to change the ticket status with a single click, from open to closed, for example.
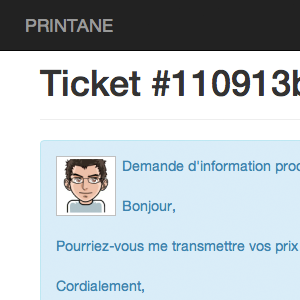
5. Make your support mobile via the web
Each ticket has its own web page. Support operators or the customer can use either e-mail or this web page. Ideal for emergency situations where mobility is key!
6. Support several brands
If you have installed the "Multi-brand" app, then your customer support can also be carried out under several brands. Select the brand to be used for each customer ticket. Your emails will contain the corresponding logo and footer.
7. Provide a tracking interface for your third parties
On each ticket's web page, your third parties have a button giving them access to a list of all their tickets with you, open and closed.